PC Restoration

Managed to get this old Pentium III PC back to working order. It had been working fine, and I had been successfully getting it to boot into both Windows XP and Windows 95 by swapping hard drives, but then it completely stopped working.

Initially it didn’t look promising. Computer seemed to be powering up, but no video was being displayed on the monitor. Worse, it wasn’t even accessing the floppy drive on power up, let alone either of the hard drives. So I went through these steps:

Step 1 – Tried clearing the CMOS – BIOS memory. Found out there’s 2 ways of doing that; by reseating the cell-sized CMOS battery, or by moving the CLEAR CMOS ‘jumper’ on the motherboard from the pins it was on to the other pins. I tried both, but that didn’t do anything (later on I had to restore the BIOS settings, so it was a shame to have to try that).

Step 2 –  Tried testing the power supply. Even though power was clearing getting to the PC, since the ATX PSU generates several different voltages, it could be just that one part had failed. So with an AVO multimeter, I went through and checked all the outputs: +3.3V, +5V, +12V, -12V on the 20pin connector, with pins 15 & 16 shorted together (to ensure power on even whilst not connected to the motherboard). All checked out ok.

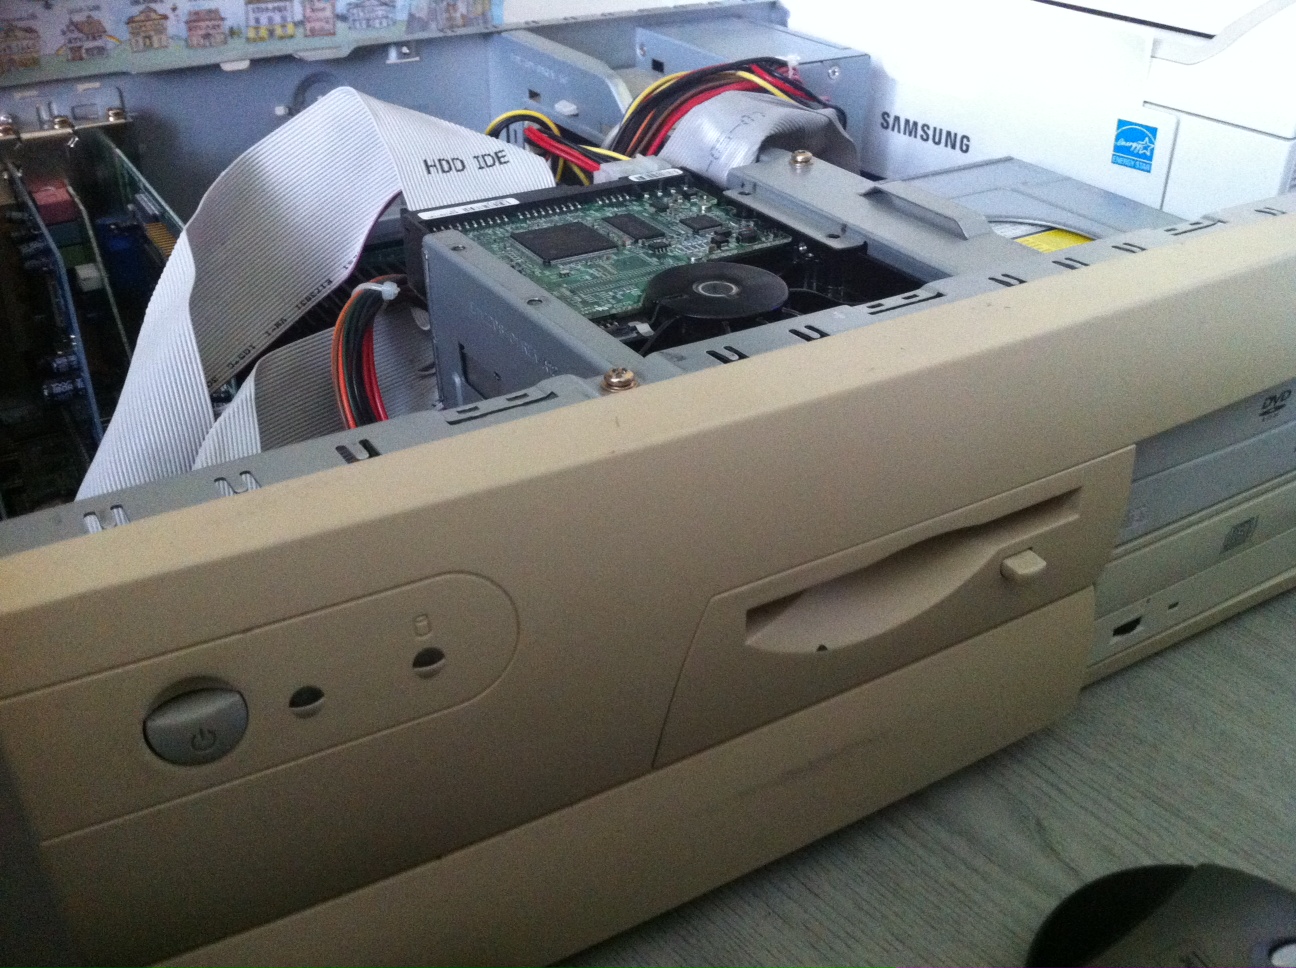
Step 3 – Tried ‘reseating’ everything possible in the PC. i.e. disconnected all data and power cables, took out all the interface cards, the memory module and the keyboard and mouse connectors. This step generated some progress, as now a loud ‘beep’ was heard on power-up. There are a series of different ‘beep codes’ which can indicate issues. After a bit of experimentation, I found that reseating the memory module again got rid of the ‘beep’ and even better caused a default startup screen to appear.

Step 4 – Even though it was ‘progress’ to get some video out, the PC still wasn’t booting into the Operating System, so I now suspected that I needed to restore the BIOS settings that had been reset with the CMOS clearing step. Pressing F2 on power up took me to the BIOS configuration page. That included seeing the date and time, changing the default setting for diagnostics on boot, and crucially manually setting the cylinder/head/sector parameters of the IDE HDD (as ‘auto-detection’ wasn’t working). This last part needed the right information about my hard disk to get to work, but fortunately I managed to find the exact information by booting with a Maxtor disk utility floppy disk (normally used for formatting, but it told me the parameters I needed).

With all that done, the booted successfully again into both Windows XP and Windows 95, job done!

Photos of the restoration in progress are on our Facebook page.


Action4Asperger’s : 4 PowerMacG5 : 4 Minecraft

Computers 4 Minecraft

Action for Asperger’s were delighted to receive a donation of four Apple Mac Computers for their CyberHub. The main use is planned to be for their Minecraft club.

Challenges

– The PowerMacG5’s needed setting up, removing the old user data and updating from an old version of MacOSX

– It initially appeared that Minecraft would not run on the old G5 systems since MacOSX development for those platforms ended.

Setup

The initial setting up of the PowerMacG5s took a surprising amount of time, since not everything was in order, with a mixture of old PC hardware and mice, cables, monitors, not all confirmed as working.

The computers had old user data and accounts, some with not-known passwords, meaning they couldn’t be booted into.

Most worrying was one of the PowerMacG5 computers had a sticky note saying ‘faulty – no hard-disk’. Fortunately, all the others had two drives each.

Two Apple ‘Cinema’ displays were included, at first one of them didn’t work, but it seems that it needed careful matching with the PSU as there were two types.

MacOSX ‘Leopard’ Upgrade

The last Apple operating system that works on the old PowerPC G5 computers is MacOSX 10.5.8 ‘Leopard’.

Fortunately, it was possible to create a suitable build from original install disks – a very handy fact is that 10.5.8 runs on both PowerPC and Intel Apple Computers, assisting with creating the build on a firewire portable disk. It was important to use a Firewire external drive, as PowerMacG5s will boot from an Firwire external drive (but not USB) by holding the ‘Alt’ key on power-up

Disk Utility was used to clear the one of the drives of one of the PowerMacG5s. Then CarbonCopyCloner was used to transfer the 10.5.8 build from the external drive to the computer.

Once the new build was transferred to one PowerMacG5 hard-drive, and whilst the external drive was used to upgrade another of the 4 computers, Disk Utility and CarbonCopyCloner was used to transfer the first computer’s primary to its secondary internal hard disk (handy it had two). This step helped to speed up the process, as once this disk copy was done, the secondary drives this computer and another of the 4 computers were swapped. Now two more build transfers could happen together.

The final step was to get the ‘faulty’ 4th computer to work. Opening it up and inserting the upgraded secondary drives from one of the other computers, it was possible to startup and set the boot drive, which brought it into operation. Even ran TechToolDeluxe which proved it was all ok.

Minecraft

Finding a version of Minecraft that works on the PowerPC G5 computers, even upgrade to the latest possible MacOSX 10.5.8 ‘Leopard’, took some considerable internet searching.

But happily, the 1.5.1 launcher was found and downloaded.

This ‘Legacy’ Apple Cider – PowerPC Minecraft Solution ‘legacy’ launcher allowed Minecraft to work on all the computers which also allows different accounts to network together, though it seems that they won’t interwork with PCs running a newer version. More investigation might be needed if this is desired in the future.

Finishing Up

The final step was to tidy up the ‘rats nest’ of cables and computers, discovering that some of the combinations of display, keyboard and mouse worked better together e.g. an apple mouse with a very short lead is a better fit with the apple keyboard which has a USB port.

All done, and the result was very satisfying indeed. Hopefully plenty of use will be gained from the updated ‘Cyber-hub’.

Photos of the upgrade project during its progress are on our Facebook page.